
 Steps
Marble staircase restoration
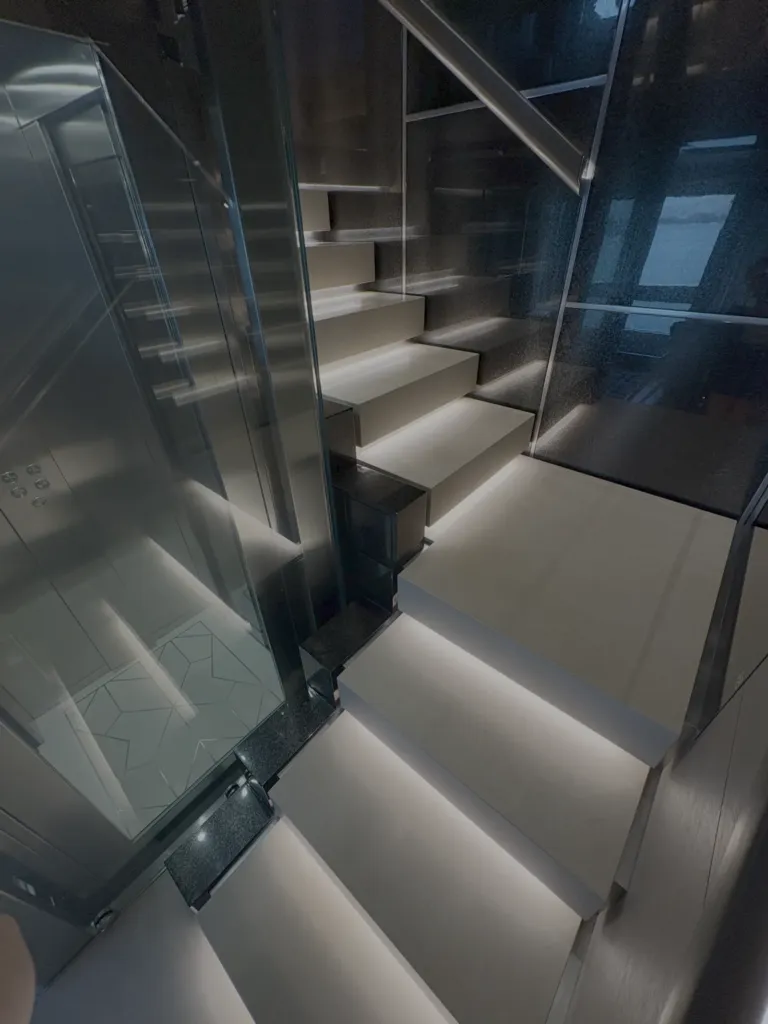
Treads, risers and nosings restored one step at a time.
Chips, cracks and broken step edges repaired in a matching colour with fillers and resins, so your original stone stays in place.
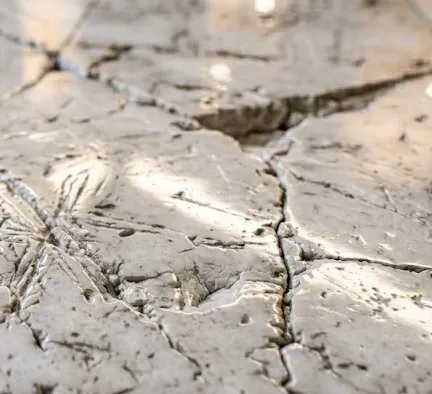
A step edge knocked off by a piece of furniture, a crack running across a tile in the entrance hall, a chip on the edge of a kitchen worktop, holes left by old fittings. Damage like this often prompts talk of replacement. More often than not, marble repair in Milan lets you keep the original stone, with its colour, its veining and its history.
We use stone fillers and resins tinted by hand, blending pigments and marble dust until they match the tile being repaired. Cavities are filled, missing edges rebuilt and cracks consolidated; the repair is then ground and polished together with the surrounding stone until the eye no longer picks it out.
Replacing an old tile is frequently not an option. The same marble may no longer be quarried, or a new piece would look quite different from stone that has mellowed in the light for decades. Repair is almost always the more respectful choice, and usually the quicker one.
A few simple precautions make the repair easier and less visible.
Each kind of damage calls for its own technique, and the filler is chosen according to depth, position and the loads the repair will have to take.
Small cavities, plug holes and open pores, filled with tinted stone filler and ground flush.
Broken or worn stair edges, rebuilt in filled resin and shaped to the original profile.
Consolidated with low-viscosity resin that runs into the fissure and binds the tile together again.
Crumbling or blackened grout raked out and replaced in a matching tone.
Polyester-based stone filler sets within minutes and sands easily. It is ideal for chips, holes and joints, and for any repair that will be ground and polished along with the stone. We tint it with pigment pastes, starting from the background colour and, where needed, drawing in a vein by hand.
Epoxy resin cures more slowly but offers stronger adhesion and mechanical resistance. We use it to bond loose fragments, rebuild step edges that must withstand foot traffic, and consolidate cracks, where its fluidity lets it travel deep inside. In clear or lightly filled form it lets the pattern of the stone show through the repaired line.
Colour is where the skill lies. No marble is a single shade, so an invisible repair reproduces the base tones, the subtle shifts and, if needed, the direction of the veins, and it is checked in daylight before finishing.

The nosing is the most exposed part of any staircase. It takes the knocks of house moves, the weight of suitcases and the strike of heels. In Milan’s communal stairwells, often in Botticino or grey Lombard marbles, broken or rounded nosings are a familiar sight.
To rebuild one we clean and key the break, set small stainless steel pins where extra anchorage is needed, and shape tinted, filled resin against a template taken from the neighbouring steps. Once cured, the edge is profiled, ground and polished so it matches the rest of the flight and is safe underfoot again. We work one step at a time, so the stairs stay in use throughout.
Impact, settlement, a rusting fixing or water ingress: a moving crack needs the substrate checked first.
The cavity is cleaned, degreased and opened slightly to give the filler a good key.
The colour is mixed on a sample, then the void is filled, rebuilt or injected.
Excess is ground away and the repair brought to the same finish as the surrounding stone.
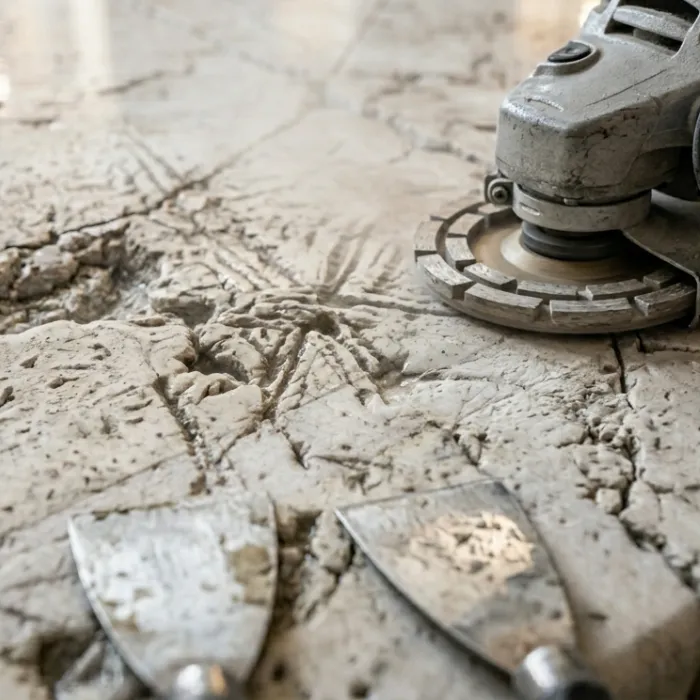
A repair blends in best when the surrounding surface is evened out too.
StepsTreads, risers and nosings restored one step at a time.
 Uniformity
Makes repairs disappear on heavily worn floors.
 Stains
For the rust and marks that often come with cracks and holes.
The aim is that it should not be noticeable at normal viewing distance. We tint the filler or resin by hand on your own marble, reproducing the background and the veining, and bring the repair to the same finish as the stone. On busy or dark marbles the result is usually excellent; plain whites need more care, and we explain this openly before starting.
Rarely. If the tile is still firmly bonded and the crack is stable, we consolidate it with fluid resin and restore the surface. If it has come loose or the substrate has failed, the cause has to be checked first and the tile reset where possible before the repair.
With filled epoxy and, where necessary, stainless steel pins, the rebuild stands up to daily foot traffic, even on a communal staircase. We shape it to match the profile of the adjoining steps, so the stride remains regular and safe.
In most cases, yes. Edge chips, holes near the sink and small cracks are repaired in place. We protect units and appliances and finish with an oil-repellent sealer suitable for food contact.
It depends on the number and type of defects, how tricky the colour match is, whether pins or consolidation are needed, and the finish required on the surrounding area. Photos give us a first idea; the free written quote follows the visit.
Send us a couple of photos of the damage on WhatsApp, one close up and one wider, or fill in the quote request form. We will reply quickly to arrange a visit.
Send us a photo on WhatsApp or use the form. We will tell you how we would tackle it and prepare a free quote.